We have made recording data as simple as possible.
You can either set up a session individually or you can just use the current system defaults.
Recording a Default Session
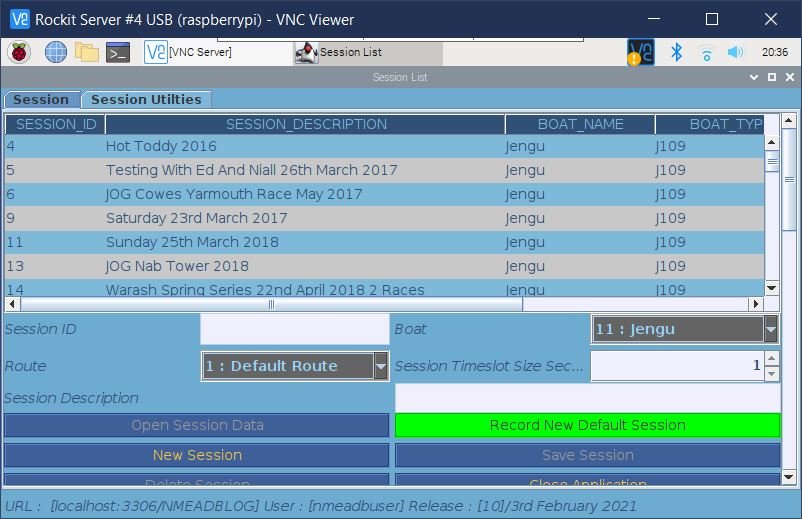
If you have setup a Default Boat, Route and Interface you can start recording by simply pressing the big green record button on the Session List page.
Follow the steps laid out in this section to record a session.
- To Record a Default Session
- Set a Default Boat (if you haven’t set it already)
- Set a Default Route (if you haven’t set it already)
- Set a Default Interface (if you haven’t set it already)
- Set the Timeslot Size in Seconds (assuming you don’t want it to be 60 seconds)
- Press the New Default Session Button
- Once you have started the process the Session Data window will open to show the information recorded/being recorded.
The table below explains the use of the fields on this screen.
| Field | Description | Required? |
|---|---|---|
| Session Description | Description of the session | Yes – Default recording will make a standard description using the system date and time. |
| Boat Name | Name of the boat that we are recording data for | Yes – Select from the boat definitions already setup in Rockit. Default recording will use the Boat with the Make Default Boat flag set to Yes |
| Route Name | Route the boat will follow | Yes – Rockit will create a route record based on the navigation data received from NMEA. In that scenario the route will be defined based on the system date and time. |
| Session Time Slot Size | The size of each sample time slot in seconds | Yes – The default is 60 seconds which works fine for most offshore sailing. If you want to get into the detail of individual events, lower this to 10–15 seconds. |
| Session ID | Each session has a unique ID. This is an internal system key for the Session Record. | Yes – system generated. |
Recording a Session With Non Default Settings
Its almost as straightforward to record a bespoke session.
Follow these steps to start recording.
Press the New Session button to create a new Session record. The session record will be created with the current default values as per the creation of a Default Session.
- Select a Boat from the Boat drop list.
- Select a Route from the Route drop list
- Set the timeslot size using the up and down arrows on the Session Timeslot Size field. The default is 60 seconds. We would not recommend going below 15 seconds. This is the size of the sample period. 15 seconds means that a summary record will be create every 15 seconds.
- Enter something for the session description.
- Press the Save Session Button to save the record.
- Now press the Open Session Data button. That will open the Session Data screen ready to start recording. The Status will be Collector : Stopped
- Press the Green Start Collector button to start the collection process. The Status will switch to Collector : Running
What Happens When You Start Recording ?
A couple of things will happen in the following sequence. This is irrespective of whether you are recording a defaults only session or one you have defined individually.
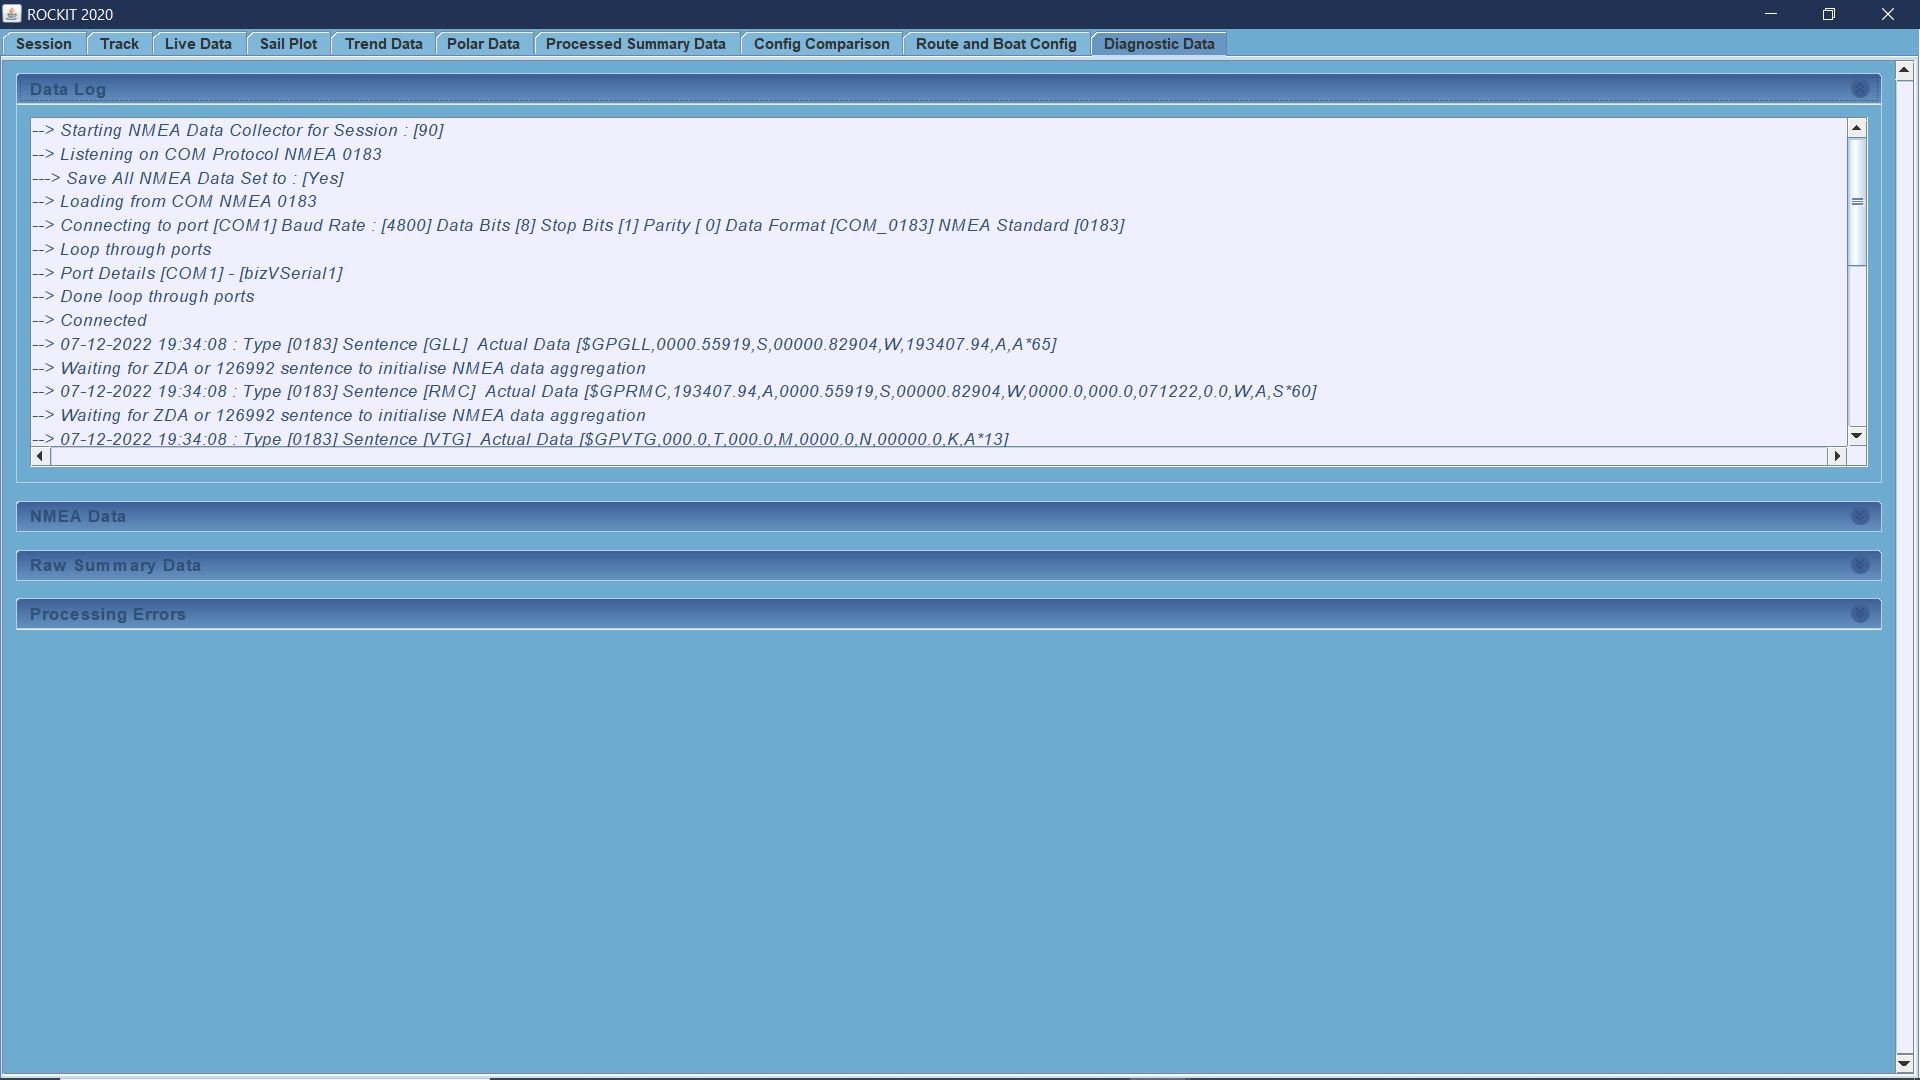
- First once the Data Collection Session screen has opened information about the status of the collection session will start to scroll down the Data Log list on the Diagnostic Data Tab.
- The Rockit Server will attempt to connect to the data source that has been defined for this session. See the section on Setting up Interfaces to understand the parameters that are required to make each different type of connection.
- Assuming the Rockit Server is able to connect it will start to read and record the messages that come in from the interface.
- We have defined a sample period in our session setup as ‘X’ seconds. Rockit will now collect messages for that timespan, using the ZDA or 126992 sentences to time the process.
- Once Rockit gets to the end of the sample phase the data aggregation process will run and a summary record for the time slot will be generated.
- The polar data will be updated to reflect the boats performance.
- The screens will be updated to display the newly collected data.
- A new sample period will be defined and Rockit will collect some more data for the new period. The process will repeat until the data collection process is stopped.
A Note On Time
If this is an NMEA 0183 connection it will be looking for a ZDA sentence. If its NMEA2000 it will be looking for PGN 126992.
These are effectively time signal messages from the NMEA session.
At some point we will write a paper on why we use this to drive the timing of the collection process rather than the internal system Clock but for now please take it as read that you will need these messages to be coming into Rockit for any collection activity to take place.
The first sample period will start at the point Rockit receives that ZDA or 126992 sentence and data will be recorded as being collected at the time on the sentence (not the PC or Rockit Server clock time).
We have found that the data can actually be running behind the actual point in time. There is effectively a lag between the NMEA device generating a sentence and it reaching the Rockit server database. The messages are effectively buffered. If you stop the Rockit Server data collection process it will more than likely continue to run until the buffer is completely read. The same will occur if you turn you instruments off, there will still be some data in the buffer to be read.
Additional Utility Functionality
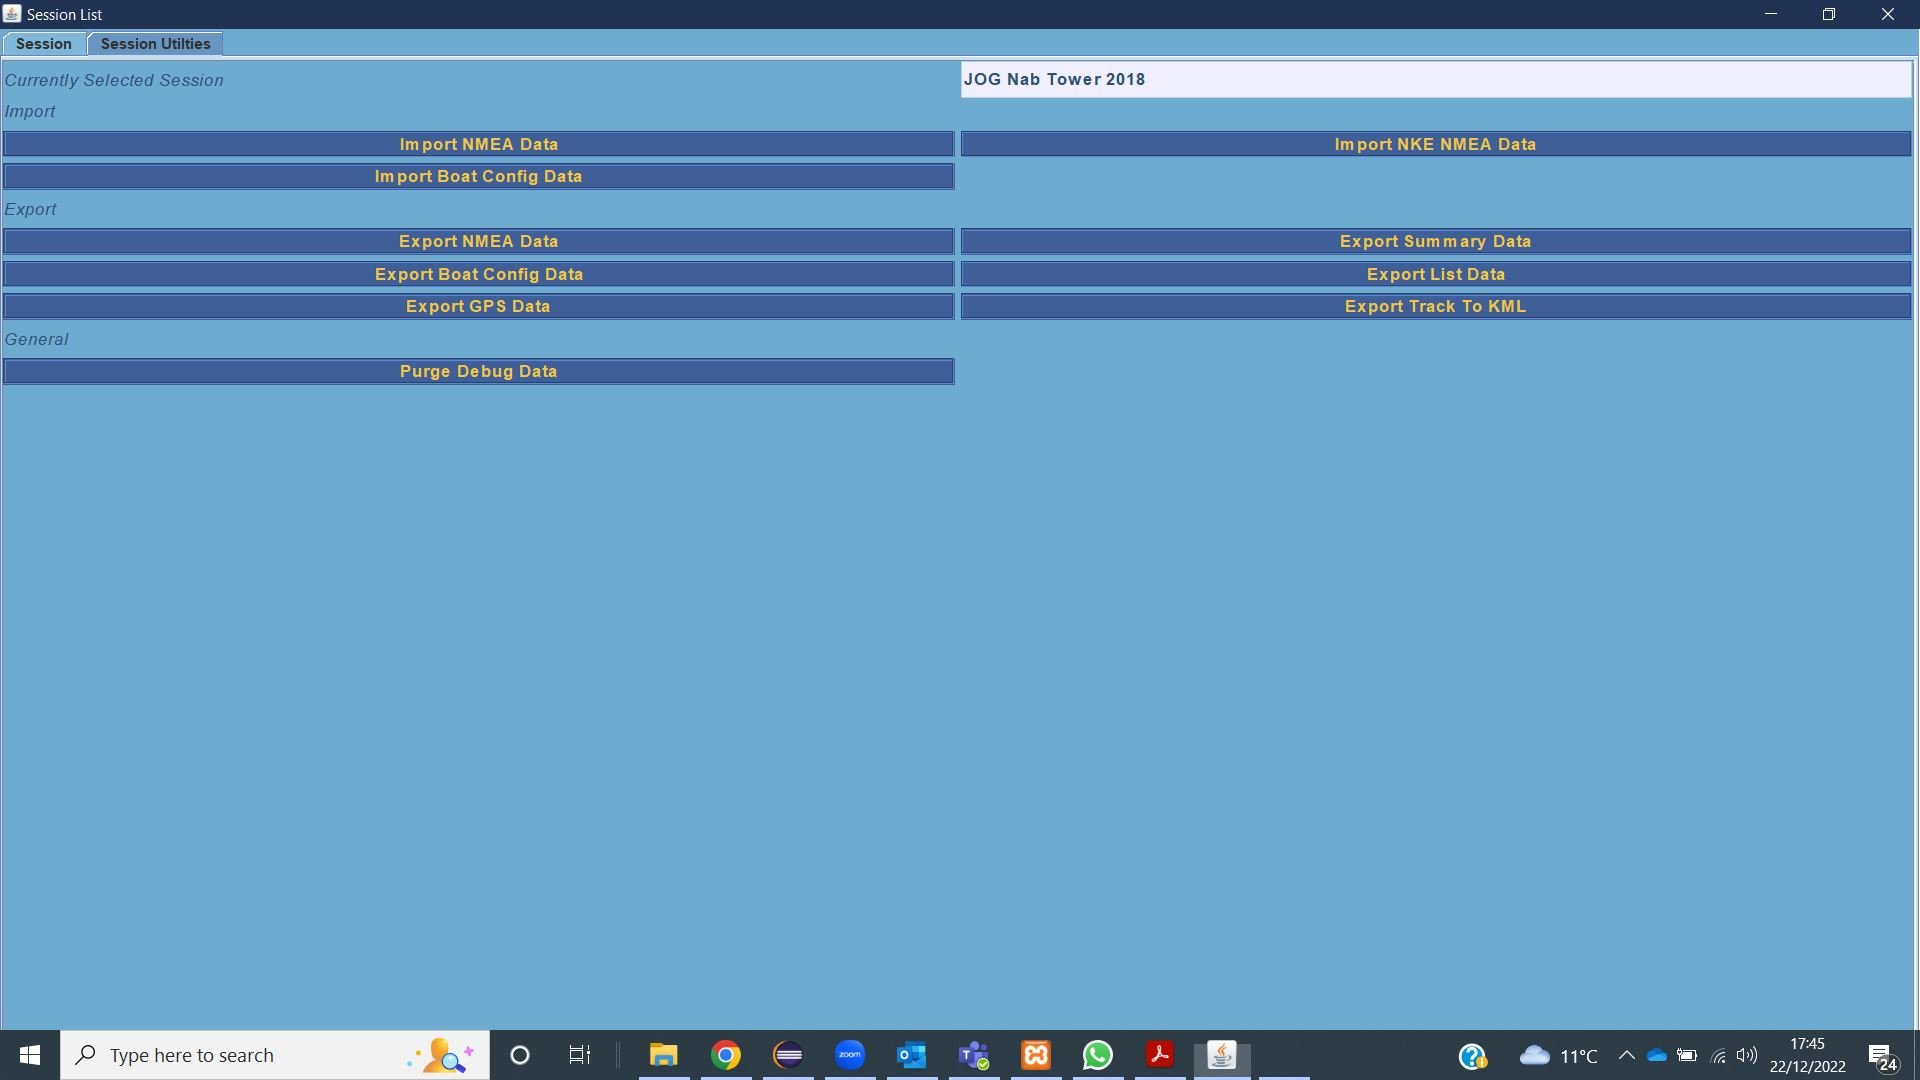
The Session List screen has a second Tab containing a set of utilities that can be used to import and export data, perform recalculation of summary data and purge debug event data.

The table below lists the functions.
| Function | Description | Server | Desktop | Panel |
|---|---|---|---|---|
| Delete Session | This option will delete the data for the session. There are two types of session data; the raw NMEA data from the source boat and the summary data that Rockit calculates. This option lets you delete either just the summary data or the summary and raw data. Follow the on-screen prompts and be careful to only delete the data that you no longer need. Once the type of data to be deleted is selected, pressing ‘Yes’ on the next dialogue box removes it and successful deleted will be confirmed. Pressing ‘No’ will stop the deletion process. Once the Raw data has been deleted it’s gone completely and irretrievably from the database. If only the summary data is removed it can be regenerated using the ‘Recreate Session Summary’ data button. | Yes | Yes | Session |
| Import Session NMEA Data | This will import a raw NMEA data set that has been exported from another Rockit system. Once the import is complete you will need to run the “Recreate Session Summary Data” for the session data on the Raw Summary Data Panel on the Session Data Display screen. | Yes | Yes | Session Utilities |
| Import Session NKE NMEA Data | This will import a raw NMEA data set generated on an NKE system. This is a specific NMEA 0183 file format only generated by NKE systems. Once the import is complete you will need to run the “Recreate Session Summary Data” for the session data. | Yes | Yes | Session Utilities |
| Import Session Boat Config Data | Import the boat config data set for a session from another Rockit system. | Yes | Yes | Session Utilities |
| Export Session NMEA Data | Export the NMEA data for the session. This will export the NMEA data to a CSV file. If there is a lot of data it will split the CSV data across multiple files. | Yes | Yes | Session Utilities |
| Export Session Summary Data | Export the calculated summary data for a specific session as a CSV file. | Yes | Yes | Session Utilities |
| Export Session Boat Config Data | Export the session Boat config information for a given Session in CSV format. | Yes | Yes | Session Utilities |
| Export Session List | Export the list of sessions as a CSV file. This file is useful if you are looking to setup a bulk recalculation of data. | Yes | Yes | Session Utilities |
| Export Session GPS Data | This will export the data from the database table FACT_GPS_POSITION. Rockit records the boat’s position and logs the GPS coordinates it receives to the FACT_GPS_POSITION table. This will create a CSV file dump from that table. | Yes | Yes | Session Utilities |
| Export Track To KML | Export the track and summary data to a KML file for loading into Google Earth. | Yes | Yes | Session Utilities |
| Produce Session Polar Data PDF | Export the Polar information for the session to a PDF report. | Yes | Yes | Session Utilities |
| Produce Session Polar Data with Boat Max PDF | Export the Polar information for the session to a PDF report with the Boat Max value in brackets. | Yes | Yes | Session Utilities |
| Produce Wind Boat Speed Graph PDF | Export the Wind/Boat speed graph to a PDF for printing. | Yes | Yes | Session Utilities |
| Product Session Wind Boat Direction Graph PDF | Export the Wind/Boat direction graph to a PDF for printing. | Yes | Yes | Session Utilities |
| Product Session Sailing Wind Direction Graph PDF | Export the Sailing Wind direction graph to a PDF for printing. | Yes | Yes | Session Utilities |
| Product Session Polar Spider Graph PDF | Export the Polar Chart to a PDF for printing. | Yes | Yes | Session Utilities |
| Product Session Polar Line Plot PDF | Export the Polar line plot graph to a PDF for printing. | Yes | Yes | Session Utilities |
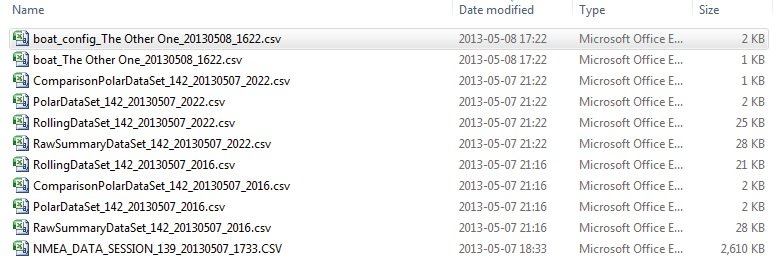
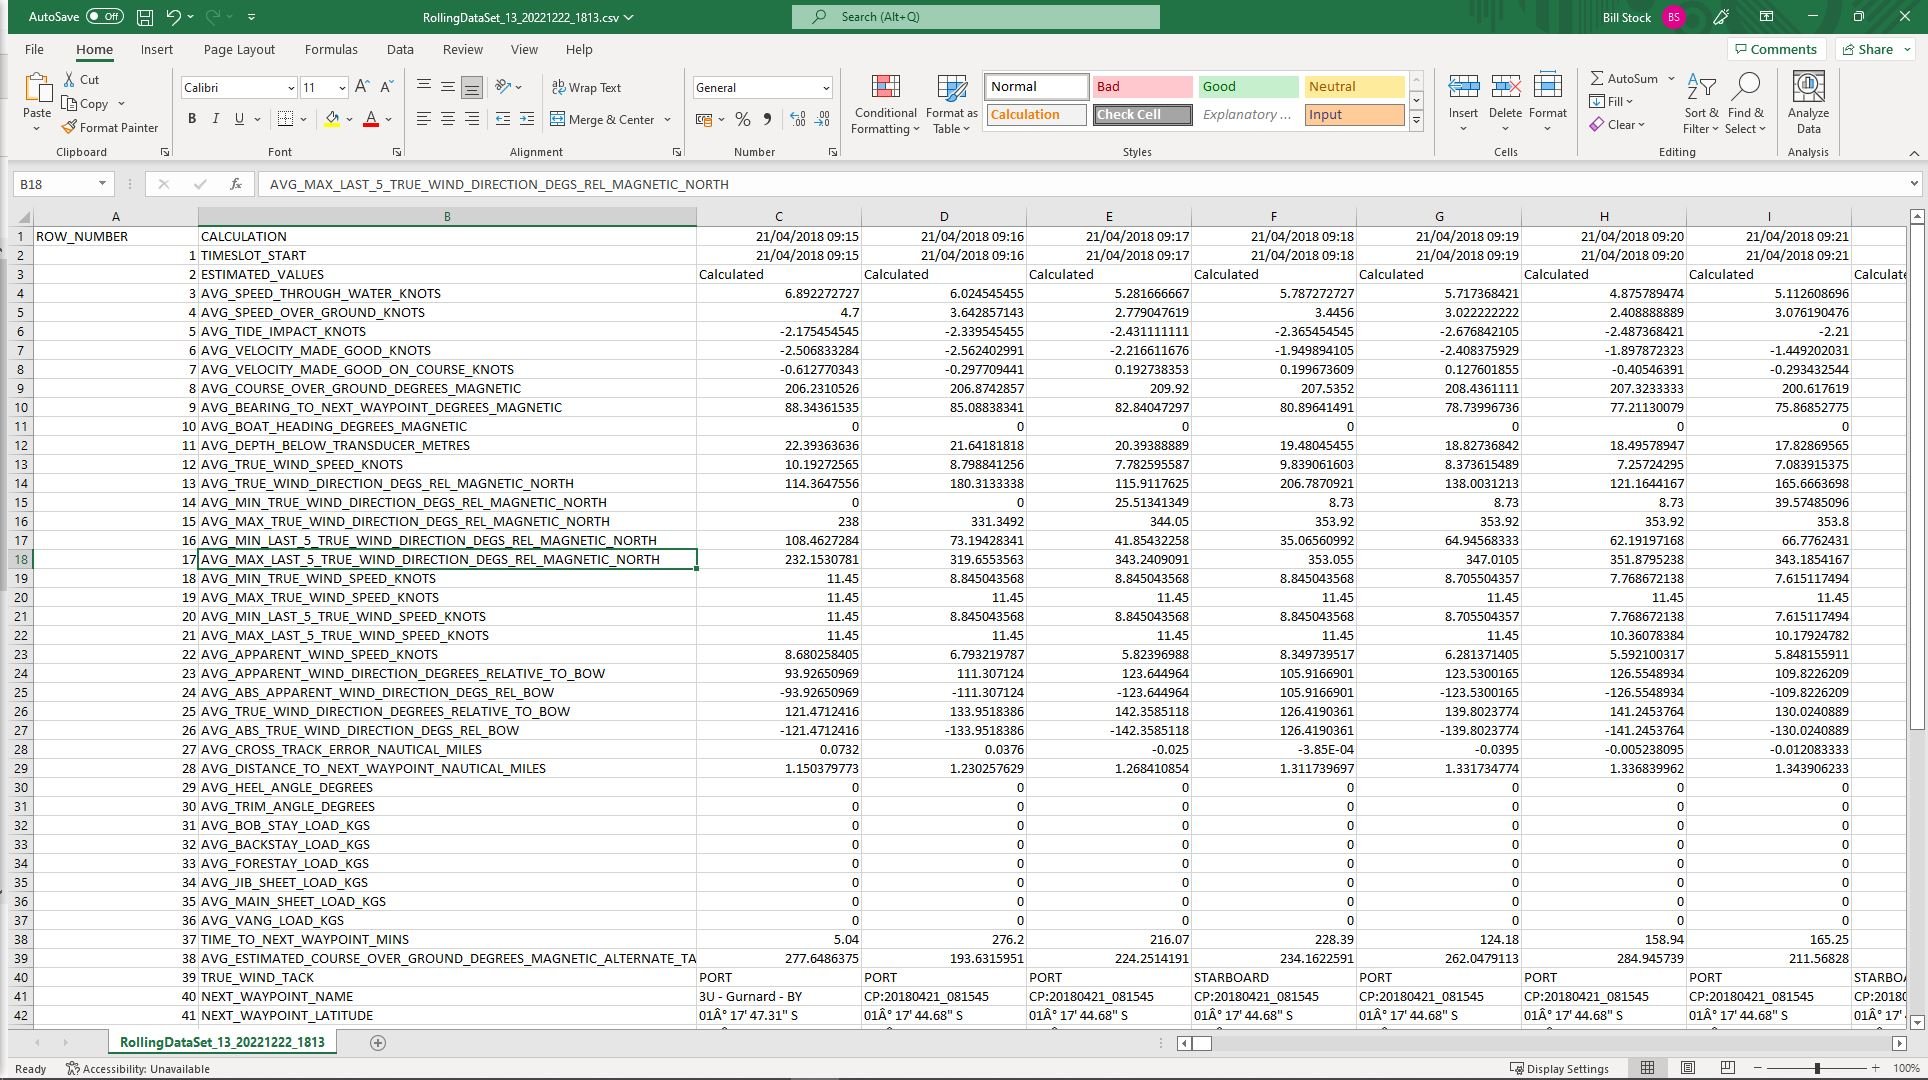
Exporting or running reports will produce files in C:\Ashtree\Rockit\ROCKIT VERSION\temp. They will be labelled with the time of export/report running and the session to which they relate. The Data Collector exports the data as multiple CSV files that can be loaded into Excel for further analysis.
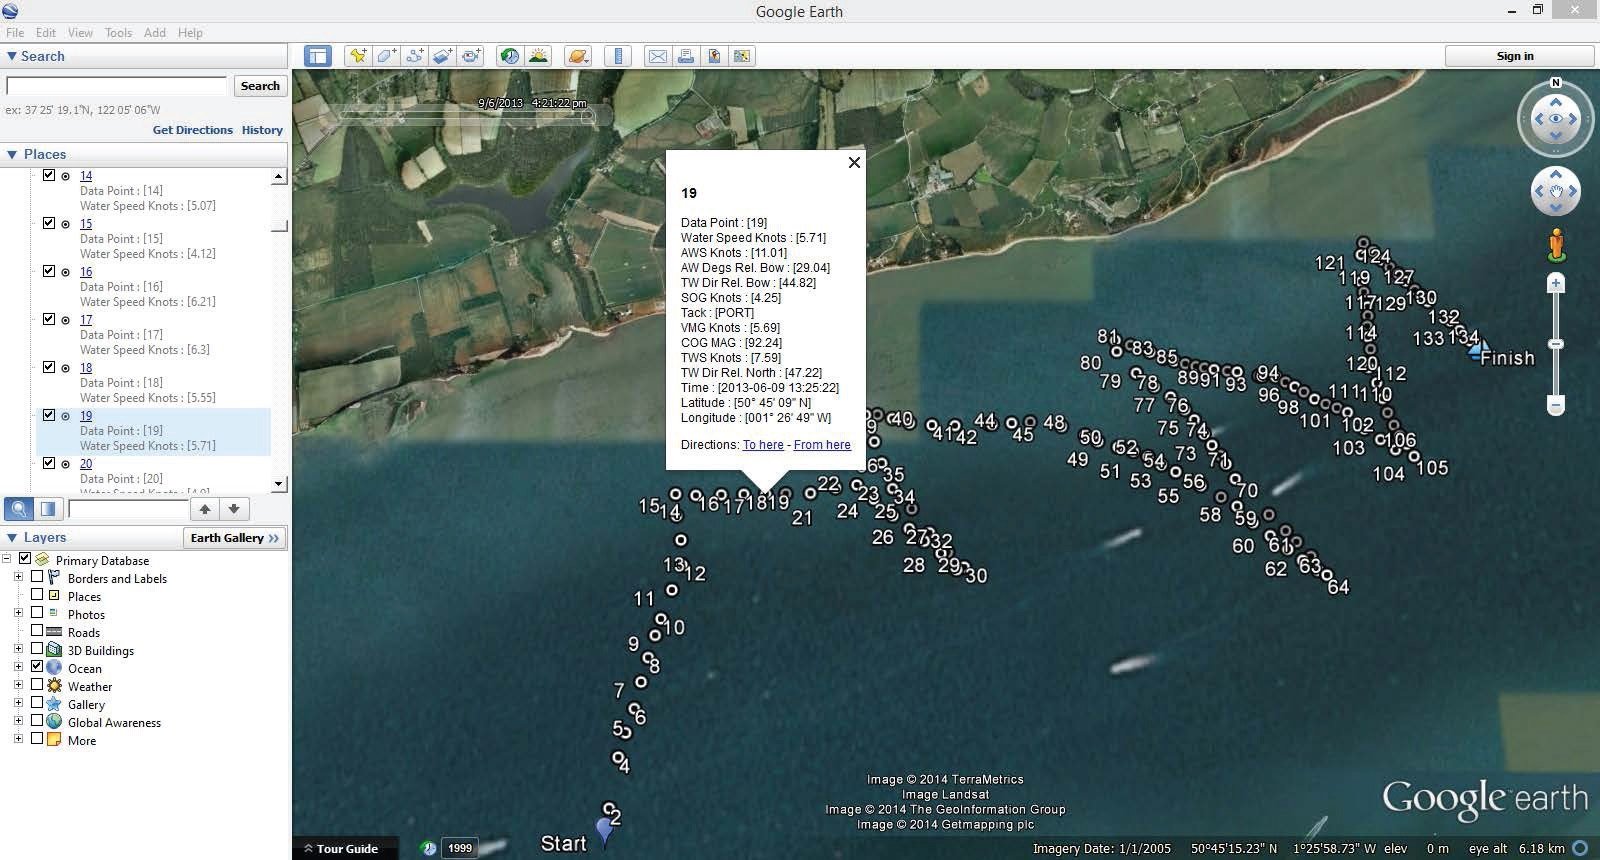
Export Of Track Information For Google Earth
You can also export to a KML file, this is a track that can be uploaded into Google Earth. You will need to have installed Google Earth on your computer to upload the track to. Once the export is complete the Rockit will put up a menu describing where it’s written the kml file to. You can right click on the file in Windows Explorer or use one of the file open type options from the Google Earth menu. You will get a track that looks like the one in the image above. Further customisation of the track information is possible with Google Earth.