Overview
The Rockit data collection software package is designed to run with a MySQL database on a Laptop computer. The instructions in this section explain how to install the software using the installer package downloaded from the Ashtree Marine website.
The following steps need to be followed to complete the installation on a laptop.
- Download Rockit Server Software from the Ashtree Marine Website
- Run the downloaded Rockit Installation software.
- Start the software and enter a valid license key.
These instructions are for the installation of the Rockit Server software on windows.
If you need to install on Linux or Apple Mac OS please get in touch with us at ; support@ashtree-marine.com
The Rockit Software was designed to run on a Windows PC with a specific set of software installed. Without these components the installation will not be successful.
| Software | Product Dependency | Comment |
| Windows 10 Professional | Operating system on which the Data Collector installation package will run. | This data collector software has been tested on Windows 10 with the latest patches installed at the time of writing |
| XAMPP | MYSQL database is used to store and retrieve data | The application requires at least version 8.1 to run successfully. XAMPP can be downloaded from the Apache Friends website. https://www.apachefriends.org . Instructions for installing XAMPP are on the Apache Friends website and are relatively easy to follow. It is possible to use other distributions of Mysql but that will not be covered in the documentation. |
| Java Runtime | The Rockit software is written in Java and required the Java runtime environment to run. | The current version of Rockit requires Java runtime environment version 13.0.2 for Windows. This can be downloaded from https://www.oracle.com/java/technologies/javase/jdk13-archive-downloads.html. Follow the instructions on this guide to download and install the software. |
Notes
1. The Installation package on the website for Rockit version 2023-14 will install the Java Runtime Environment and XMAPP MySQL Software in addition to Rockit. So there is no need to download those packages individually.
Installing Rockit On The Target Computer.
The Rockit Install Files are contained in an executable installation file.
There are two sources for that installation file.
- The download section of the Ashtree Marine website. We ask you to register before downloading the files. This section also contains the User Guide For Rockit.
- If you have purchased a software license from us we will have sent you a USB Memory stick with a copy of the software installer on it.
The file you get will be called something like Rockit_2023-14_20230125.exe. 2023 is the version number 20230125 is the build date.
To install the software.
- Make sure you are logged into the target computer with Administrator privileges
- Open the directory containing the Software installation file; usually the downloads folder if the file came from our website. Double click on the file to execute it. The software installation file is quite large, approximately 1.5GBytes so it can take a minute or two for Windows to open the file. There are a lot of files to extract and you will need at least 2GBytes free on the computer.
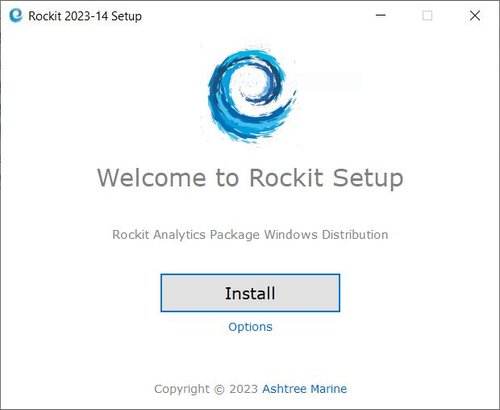
- The Install program will ask you to confirm the installation of Rockit and the required supporting software.
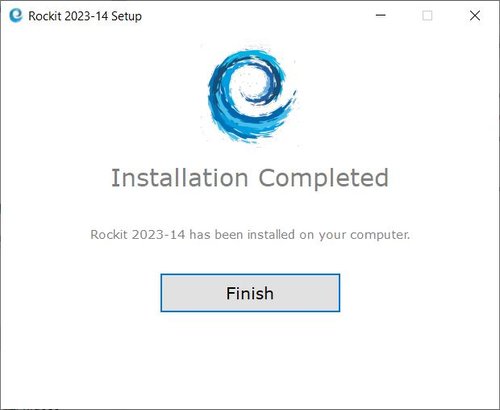
- Let the installation progress to its completion dialog.
This will complete the install process. You can now go to the next section to learn how to test the application is correctly installed.
Test The Application
If you have followed the instructions correctly you should now be able to run Rockit on your windows computer.
The installation program will have created a Rockit Program Group on the start menu with 3 options; Rockit Analytics, Rockit Client Configuration and XMAPP Control Panel.
First; Find the Shortcut for the XAMPP Control Panel on the Windows Start Menu. It should be in the Rockit folder that the Installation program has created.
Click the XAMPP item to start the XMAPP Control Panel; an orange XAMPP Icon should appear in the information section of the taskbar on the bottom right of the Windows Desktop.
Notes
- The Rockit Installation package configures the MySQL database so that it starts automatically every time the PC starts. You can change this setting by pressing the Config button on the XAMPP control panel and deselect the MySQL checkbox in the Auto start of modules section. Press Save to make this change permanent.
- You may get a Windows Firewall warning when you start the process. Click Allow Access to give MySQL the permissions it requires.
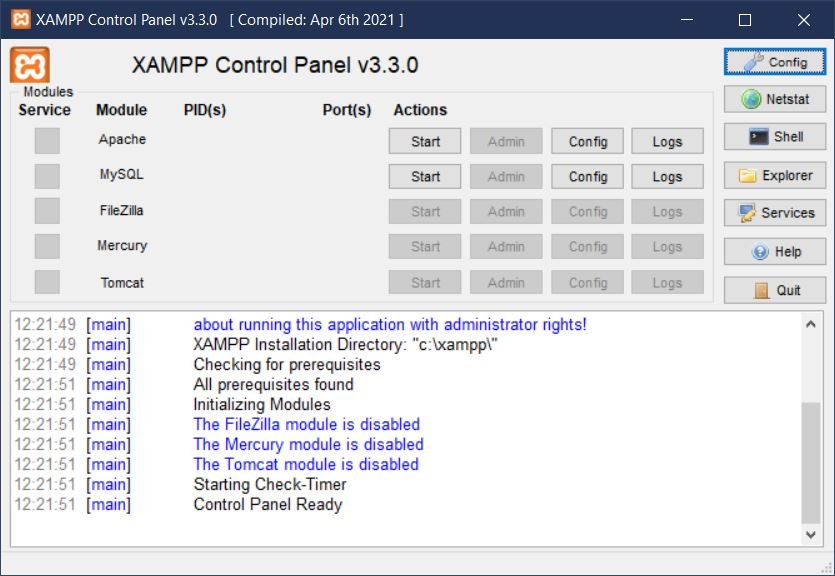
On the XAMPP Control Panel select MySQL. If that item has a red dot next to it click start to start the MySQL database.
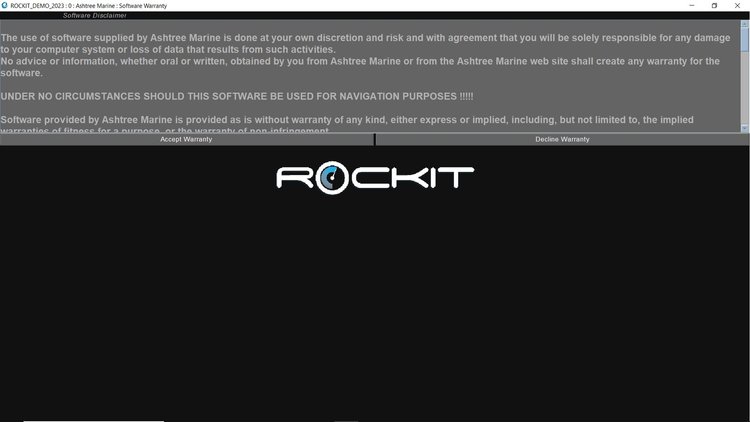
Accept the Warranty and Apply Any Database Updates
We ask you to accept the Warranty each time you start the software.
Its a simple thing but we like to be sure you are not using the software for purposes it wasn’t designed. Primarily navigating on the high seas… If you decline the Warranty the application will close.
Once you have accepted the Warranty you will get the option to Apply Database updates.
We sometimes supply Software Updates. These updates will often include changes to the Rockit database that is installed as part of Rockit. The Apply Database button will apply those updates. It can take some time, upwards of 30 minutes, if there is a lot of data in the database, which there will be if you have recorded a lot of sessions, so allow time for the update to complete. You only need to apply updates when you have updated the software installed on the computer running Rockit.
When you click Accept you will be asked if you want to update the Rockit Database. If this is a fresh install you can click No. This option is there to allow us to trigger a database update after a software upgrade. Click No will open the Session List Window.
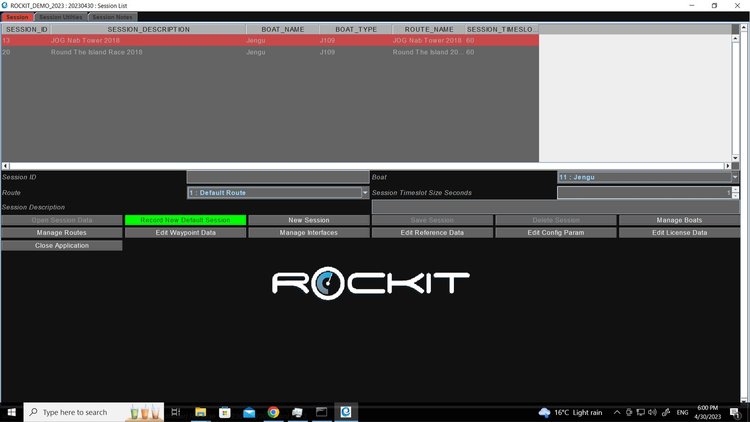
Review The Demo Data
For a fresh install this will display a demo data set with two sessions like the one below.
We supply a properties file with a given colour scheme for Rockit. For version 2023-14 the software panels will either be Black as per the image on the above or a combination of Blues.
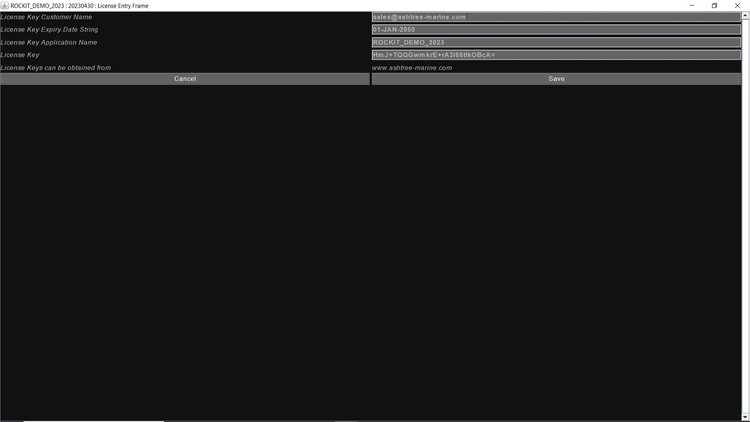
Updating The License Key
So once you have installed the software you can add the software license key.
This should have been sent to you via email when you bought the Rockit Software.
It will look something like;
LICENSE_KEY_CUSTOMER_NAME: [john_smith@googlemail.com]LICENSE_KEY_EXPIRY_DATE_STRING : [25-May-2014]LICENSE_KEY_APP_NAME_STRING: [ROCKIT]LICENSE_KEY: [0nqUA1wgVECyDzSQUnQ9nkdoDTo=]A couple of things.
- Rockit will initially start with a Demo License key. That Demo version contains 2 sessions and will allow you to record 5 in total. 3 additional sessions unless you delete the demo sessions.
- To enter your own license key go to the Session List Panel and pick the Edit License Data menu option.
- Enter your license key and related information and press save. Use Cut (Control key + X) and Paste (Control key +V) to cut and paste the long license key into the field. The license key will be validated when you press save. You will get and error message if the key is invalid. The software will continue to work until it reaches the expiry date encoded in the key.
- Close the Edit License Screen.
- Close and restart the Rockit software. When it reopens it will be using your license key.