Once you have created your Boat Configuration on the Rockit Analytics Platform and downloaded it to the device you are using for recording; either Rockit Server or a Windows computer running Rockit; you can start to record data.
The process of recording data is defined elsewhere in this User Guide in this section we will talk about how to upload the results of your recording activity to the Rockit Analytics Platform.
Step One : Record Some NMEA Data !
The following part of the user guide explains how to record data with the Rockit software.
Defining And Starting A Recording Session
Step Two : Upload The Data To The Rockit Analytics Platform
Once you have finished recording data you can use the Session List Window in the Rockit software to upload the results to your Rockit Analytics Platform account.
You will need to have setup a boat to upload the data against on the Rockit Analytics Platform. This is discussed in detail in the User Guide here;
Rockit Analytics Platform Setup
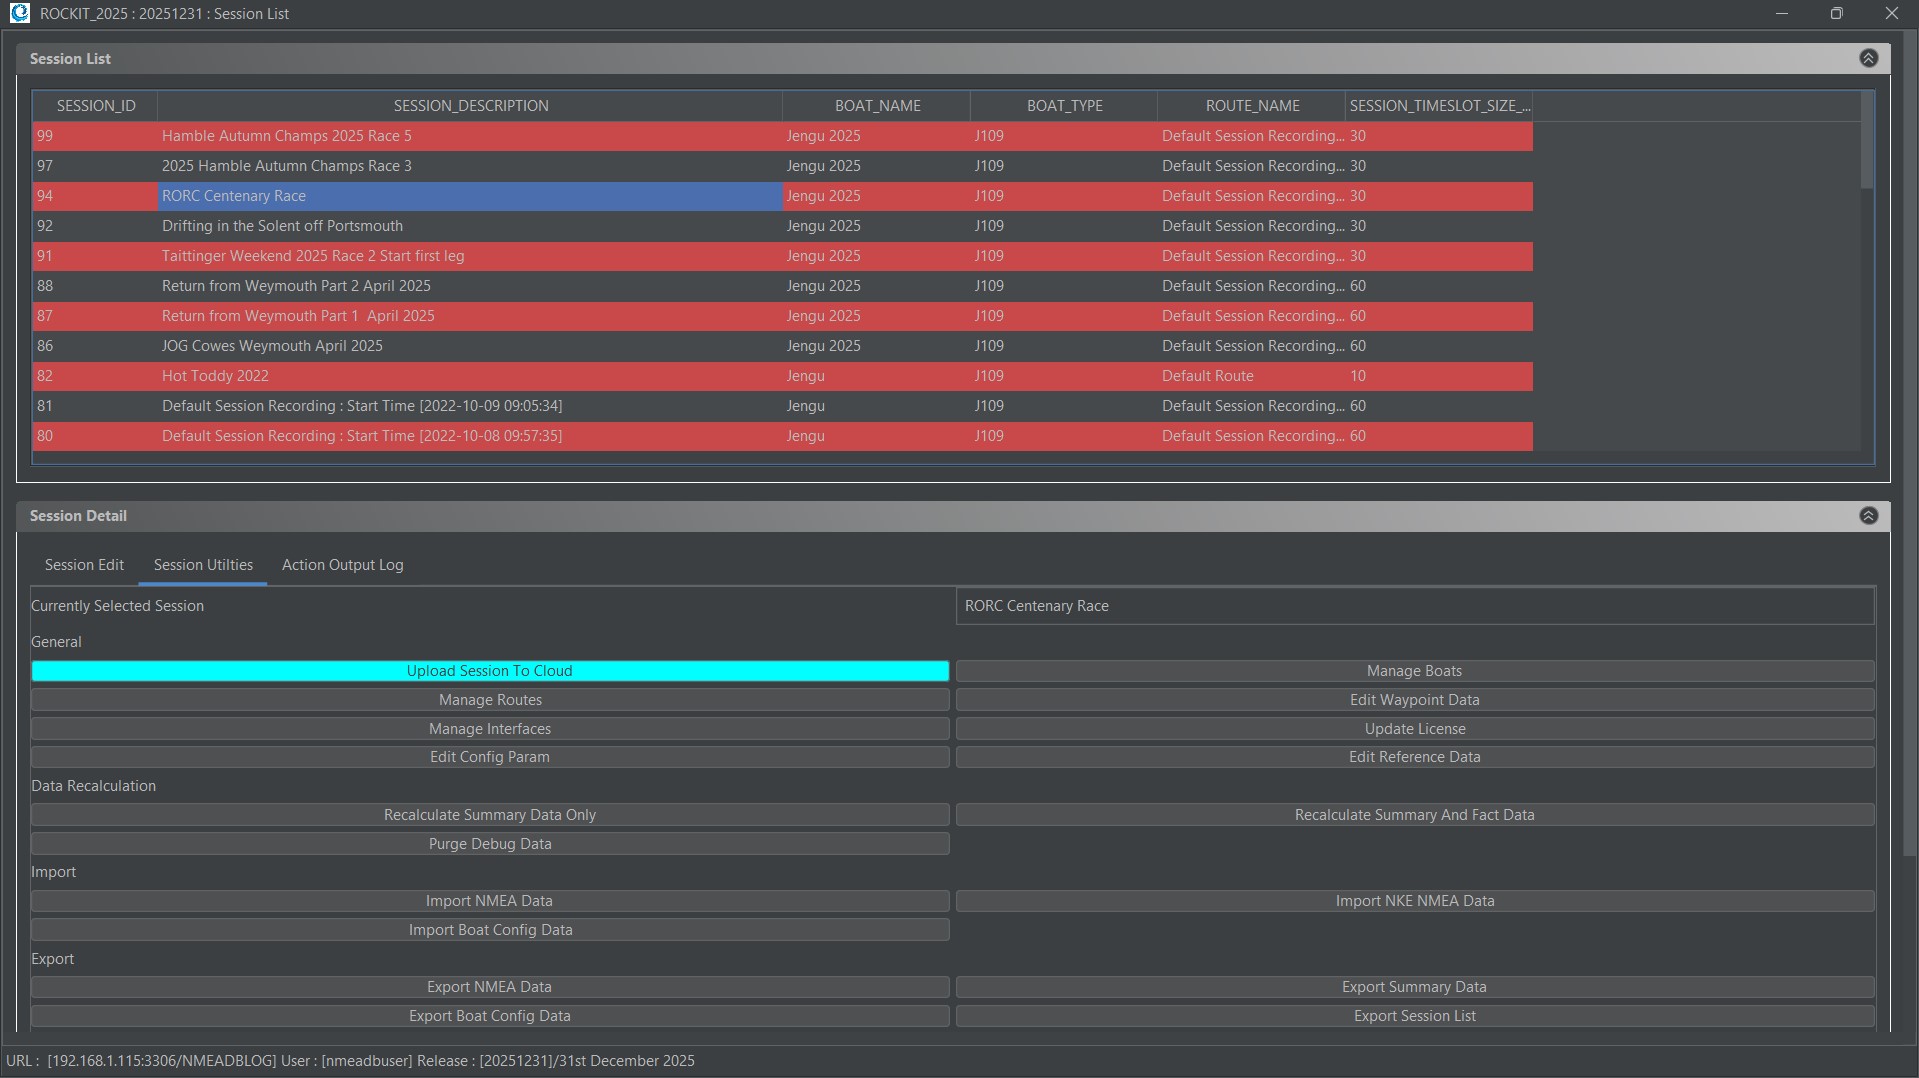
Once that setup is complete you can pick the Session in the Session List window then on the Session Utilities tab click the blue Upload Session To Cloud button.
That will open the Window that actually controls and reports the progress of the upload. You can review the information about where the data will be uploaded to. That should match the information you have set on the boat management screen in the Rockit Software as discussed in Step One above.
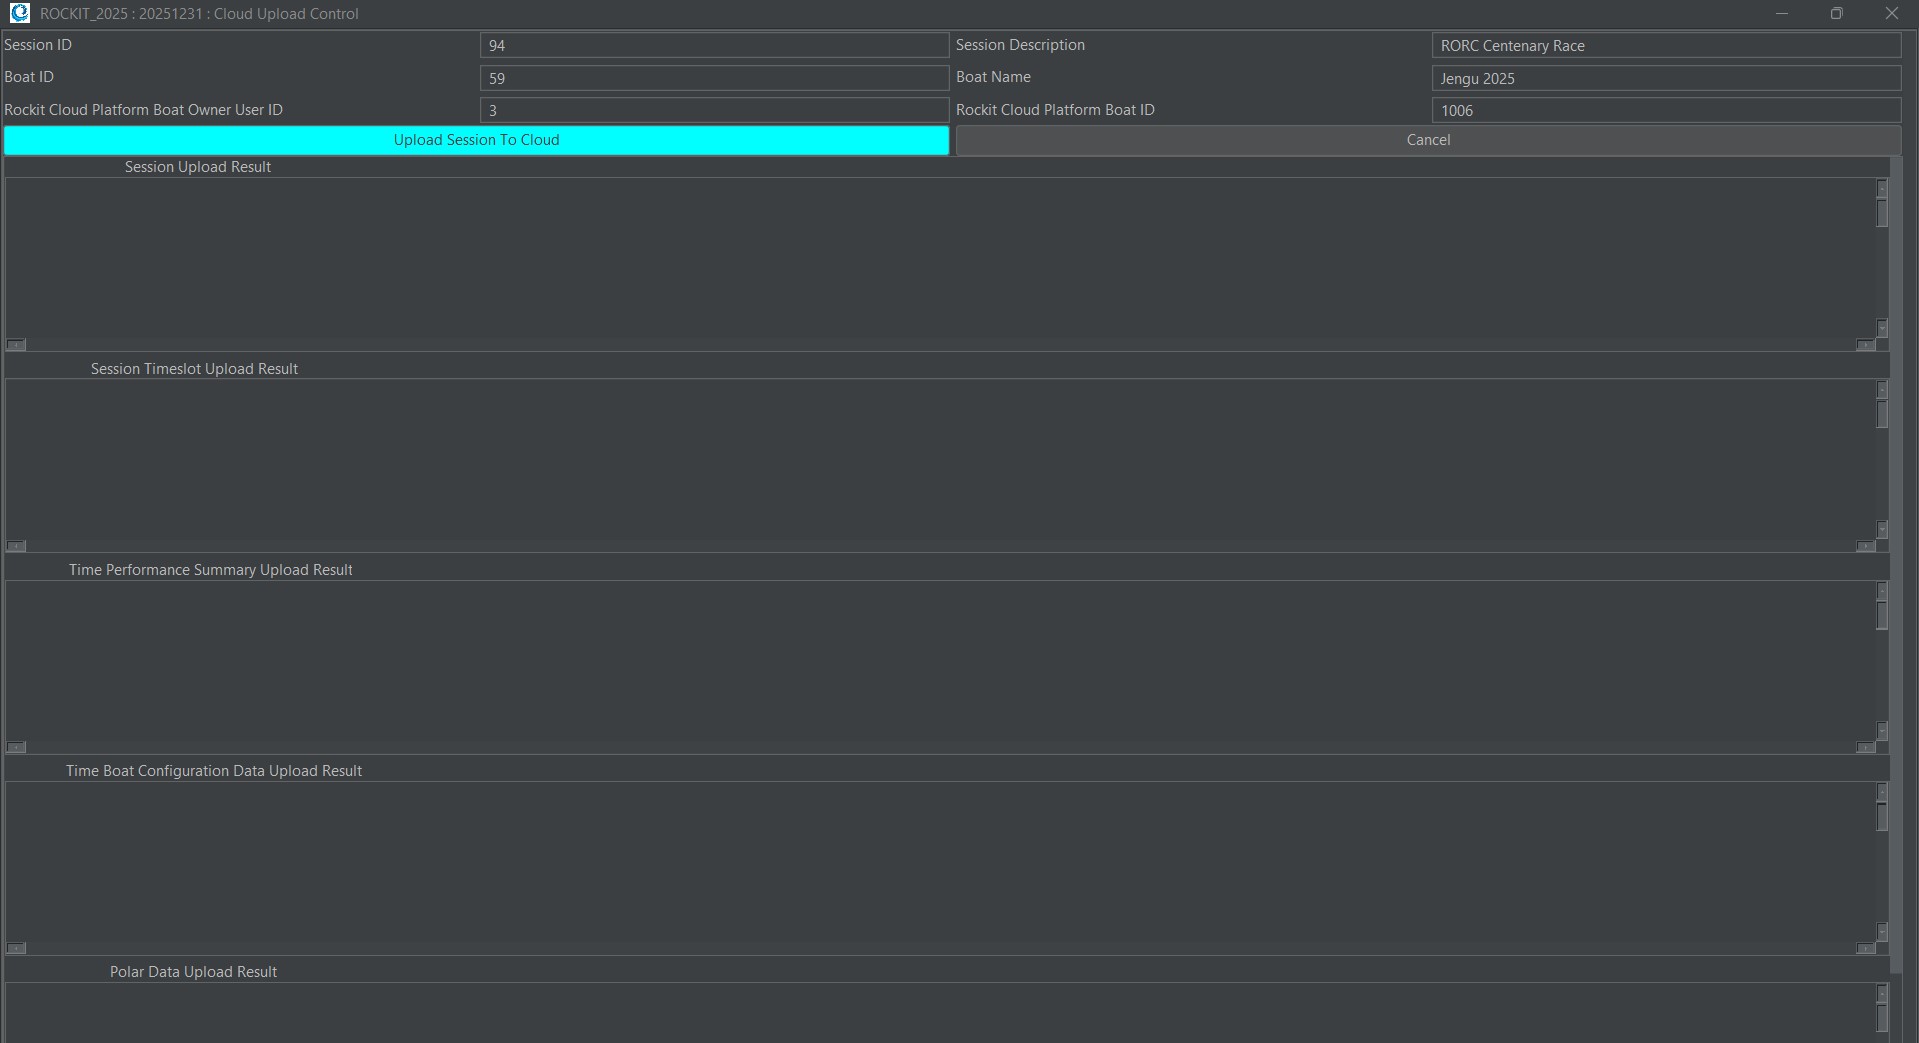
You will need to be connected to the internet to upload to Rockit Analytics Platform. If you are happy with where abouts on the Rockit Analytics Platform the data is going to go you can click the blue Upload Session To Cloud button. You will need to click Yes on the warning dialog.
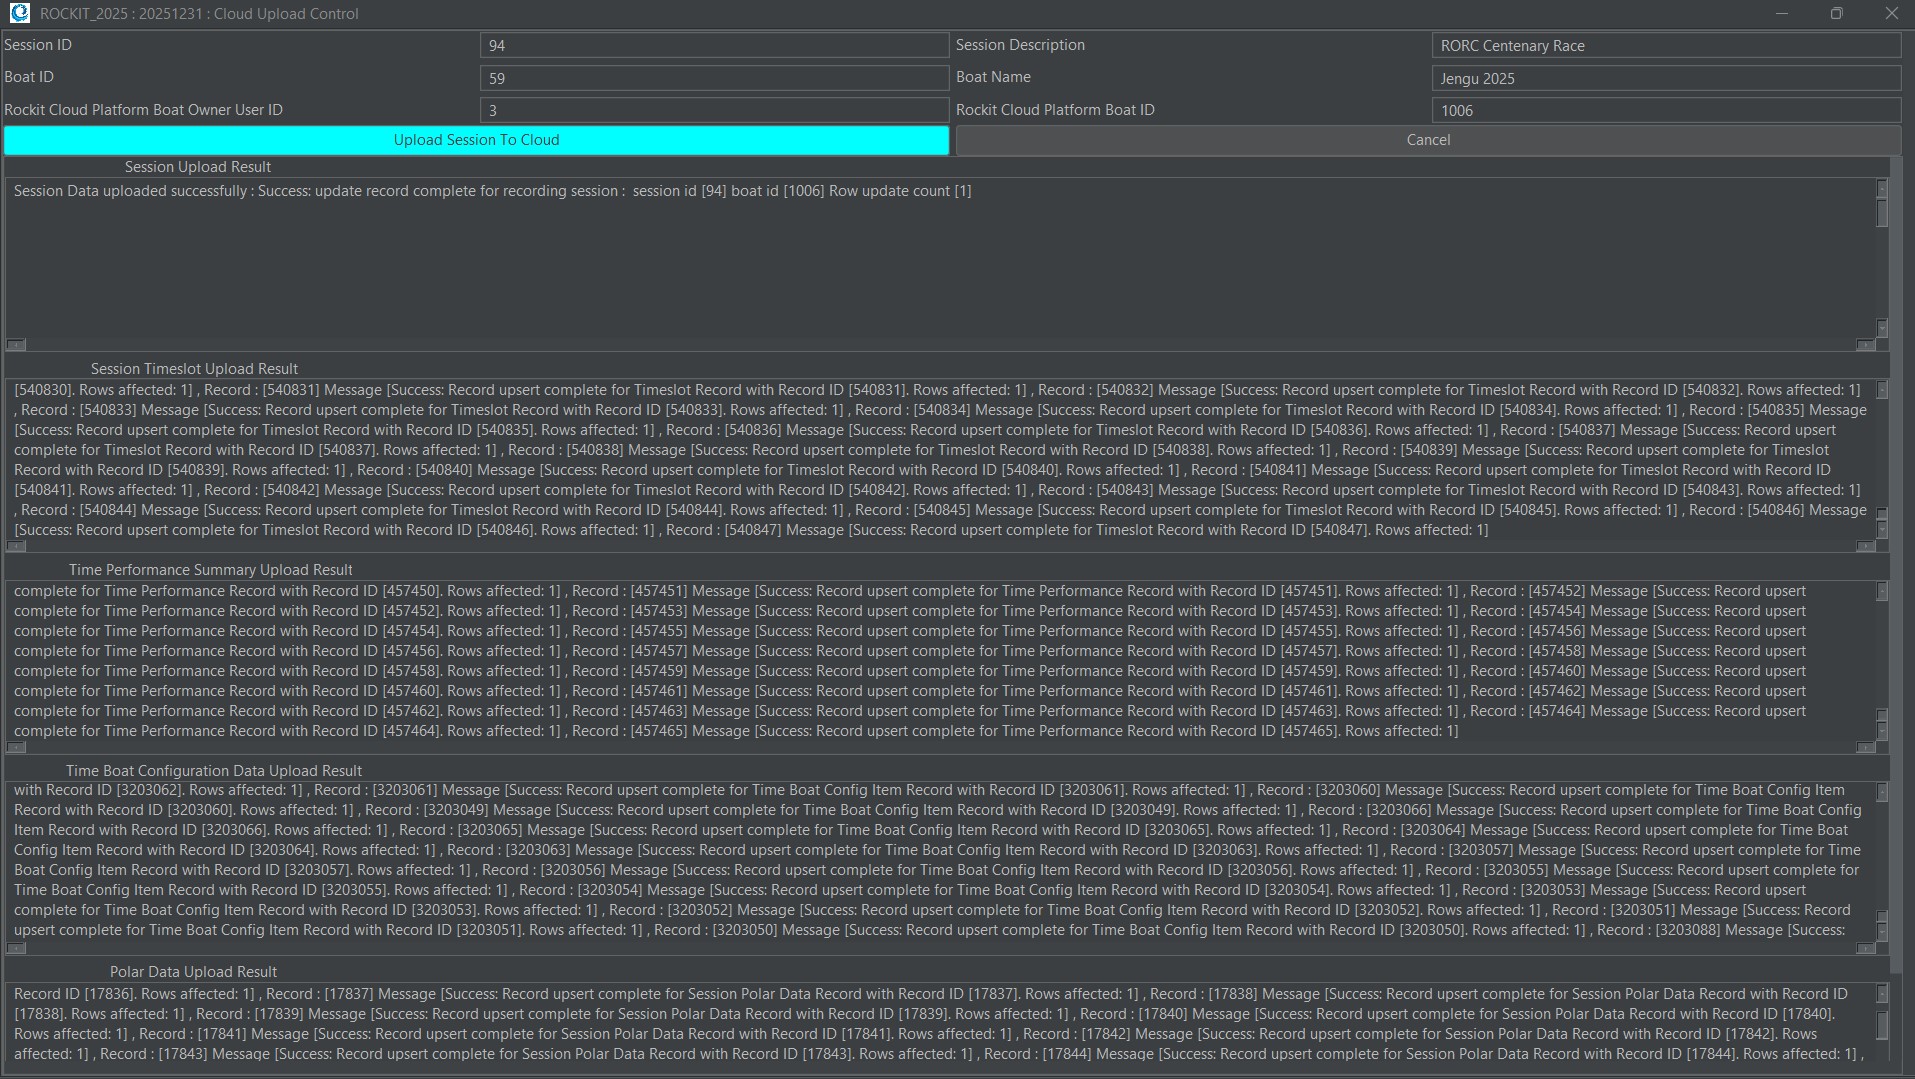
It can take a while to upload the data if its a long recording session. Once the upload is complete you will receive a set of confirmation messages in text boxes on the screen.
The process will upload the different types of data individually.
- The Recording Session details record.
- A list of the Session Timeslots; this is effectively internal system data not visible to the user.
- The Performance Summary data; the summary of the data points for each timeslot.
- The Time Boat Configuration records; this reflects the configuration of the boat at the end of each timeslot.
- The calculated Polar Data for the session.
You will get a pop up message to say that the upload completed successfully.
The dialog boxes will be filled with relatively technically information. This is more to help us debug the process if the upload fails/partially fails.
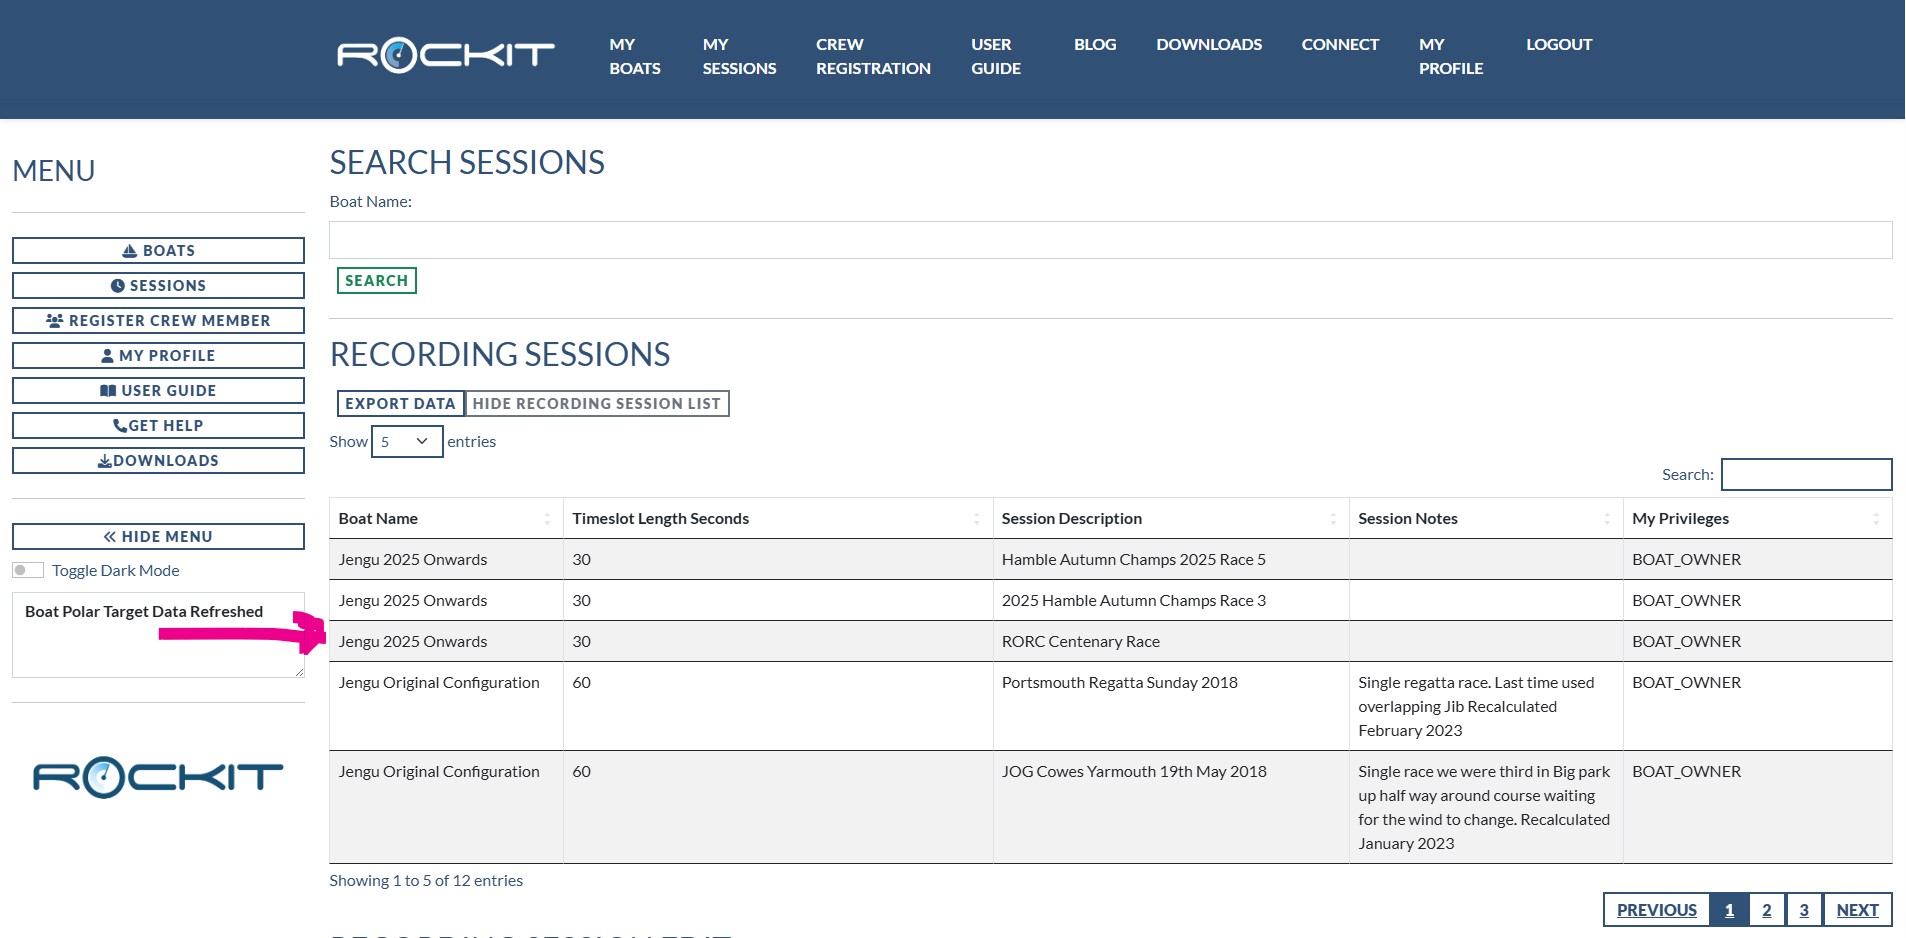
Once the process is complete you can see the data in the Rockit Analytics Platform Session page.
The next stage in the process is to review your session data.
That will be in the next part of this User Guide.